Securing your website
These note assume you are starting with the
previous project
.
So, you now have a website with public pages, members only pages and admin
only pages. However, you have no mechanism to restrict access to the restricted
pages. We will look at how to configure security on your application, and so
remedy this situation.
There are several issues to be explored:
- How do we prevent someone from guessing the URL of a restricted page and
gaining access by typing the URL?
- How do we allow someone to authenticate with the web server to allow
access to restricted pages?
- How do we configure the user interface (i.e. menu) so that it doesn't
display options which are not available to an unauthorised user?
Restricting access to pages
ASP.NET applications can take advantage of a built in security model, so that
access to pages and folders can be restricted to authorised persons. To
configure this we use the ASP.NET Configuration utility in the Website menu of
Visual Studio. This utility allows us to set security based on username/password
and a role based mechanism which allows us to allocate users to specific roles
and restrict access based on those roles.
If we run the ASP.NET Configuration we get:
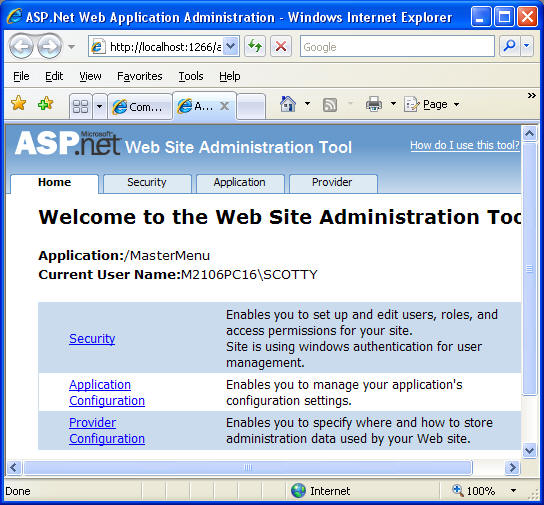
Application and Provider configuration isn't needed in our simple scenario,
so we can just click on the Security Tab:
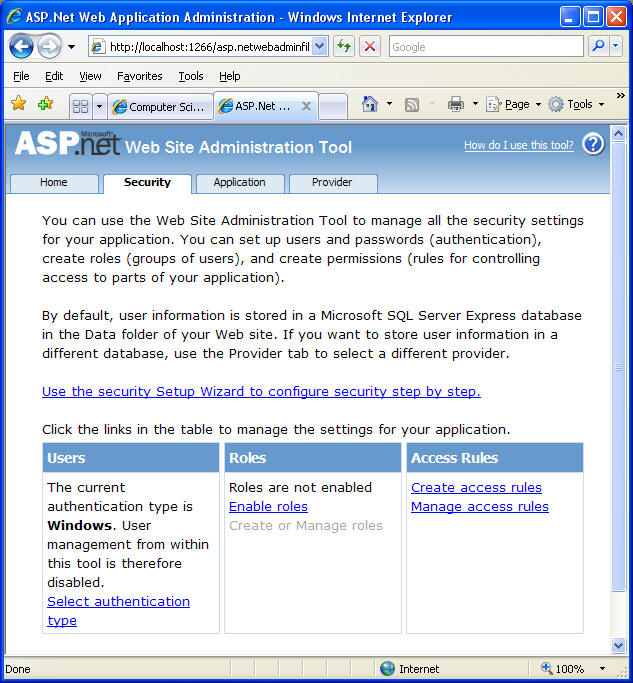
The first step is to set up authentication type. The default type is Windows
which is only appropriate in an Intranet type environment. We want to specify
authentication across the Internet. Click the 'Select authentication type' link,
choose 'From the internet' and click Done. You screen should now look like this:
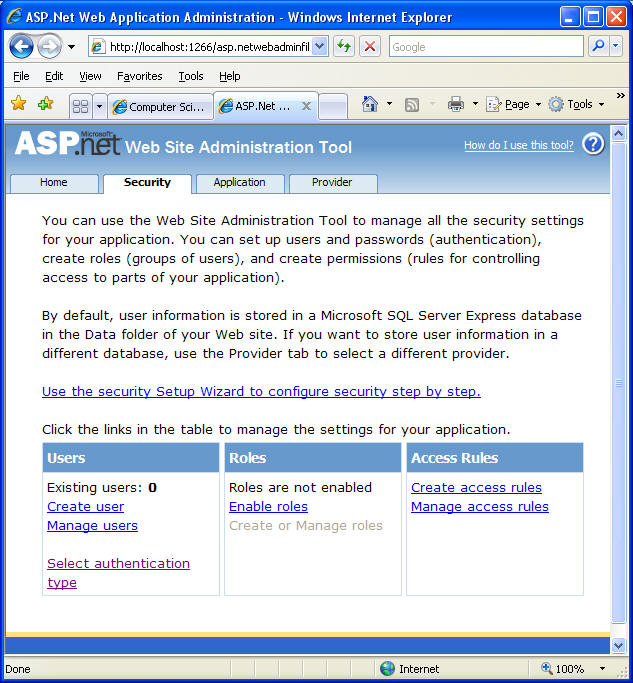
You will see that you now have information about users. Before we start
working with user accounts we should set up roles. In our case we have three
roles: anonymous users, members and administrators. The first task is to 'Enable
roles', then choose 'Create or Manage roles. We only need to add member and
admin roles, as the anonymous role is built in. We end up with:
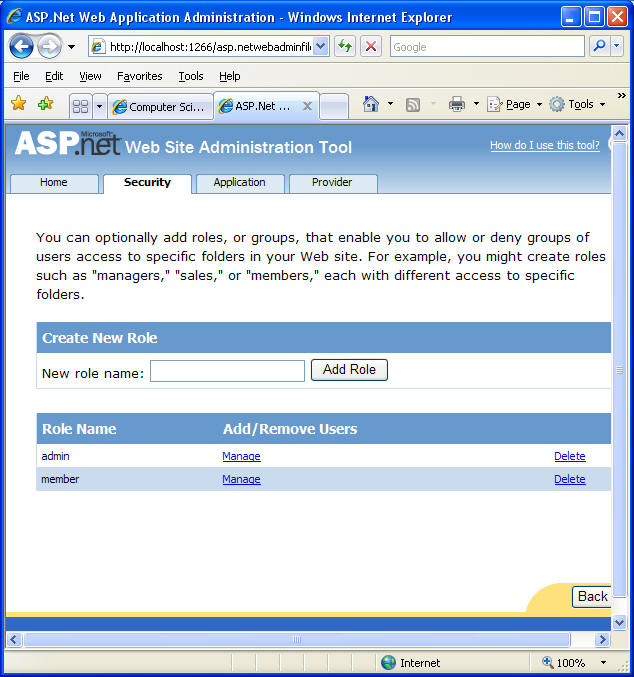
We can now click Back and go into the 'Create User' option. I add an admin
user with username admin and password P@55word.
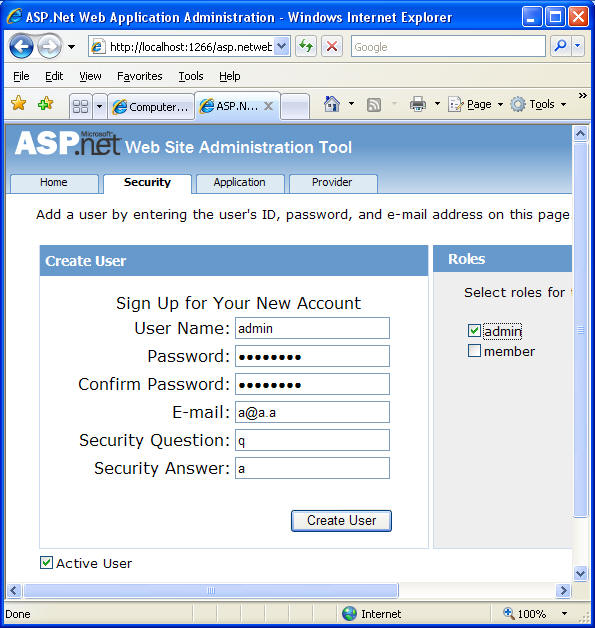
I can click Create User and then add another user, this time username member
with password P@55word. We click Back to get back
to the main security page. In a live environment you will have multiple member
users and some form of registration process. The member user here is just a test
account so you can check that security works. Now we need to restrict access to
the members and admin pages. We do this by selecting the 'Manage access rules'
link:

We should see the page listing all the folders in our application. By default
the main folder is selected and a default rule is listed which gives all users
access to the pages. This is normal for a public website. We want to restrict
access to the admin folders to only those users with the role admin. Try the
following steps:
- Click on the admin folder
- Select 'Add new access role'
- Choose role 'admin' and select the 'allow' button and click OK
- Choose 'All users' and select 'deny and click OK.
You now have a rule set for the admin folder with three rules: allow role
admin, deny all users and allow all users. Since the deny all users rule is
before the allow all users it will effectively block access for users who
haven't logged in as admin.
We now need to repeat the process for the member folder. This time we need two
allow rules. One for the member role and one for the admin role. We also need to
add the deny all users rule last.
We can now close the ASP.NET configuration page and return to Visual Studio.
Our security setup is done. We now need to handle the user interface elements.
If we run our website we will get errors if we try to click on a link in the
members or admin areas. However, the error message isn't a security warning, it
is a page not found message. ASP.NET by default looks for a web page called
login.aspx if you try to access a restricted page.
Allowing authentication
All we need to do is provide a new web page called login.aspx in the root of
our website. We add a login control from the toolbox onto the page and that is
it - page complete!

Now if we run our application and select a restricted page the login page
pops up. If we provide a valid username and password for the page we want to go
to the page will load.
Of course, we may want to provide the ability to login form a link on all our
pages. We can do this by dropping a LoginStatus control on our masterpage. When
the site runs a login link will appear. If you login the link changes to a
logout link.
When this runs you will see that we still get our menu and we have a login
link which we can use before clicking on a member or admin page. However, users
can still try to go to a restricted page without logging in. The next step will
be to make sure that users don't see links in the menu that they are not allowed
to use.
Making the menu system respond to the users role.
A simple modification to the sitemap, plus a property change to the sitemap
control on the masterpage and a corresponding entry in the web.config file are
all that is needed.
Modify the sitemap
We need to add a roles attribute to each menu entry which requires security
on it. e.g.:
      <siteMapNode
        url="~/member/default.aspx" roles="admin,member"
        title="Member home"  description="Member Home" />
Here we see that the member home page has roles admin and member assigned.
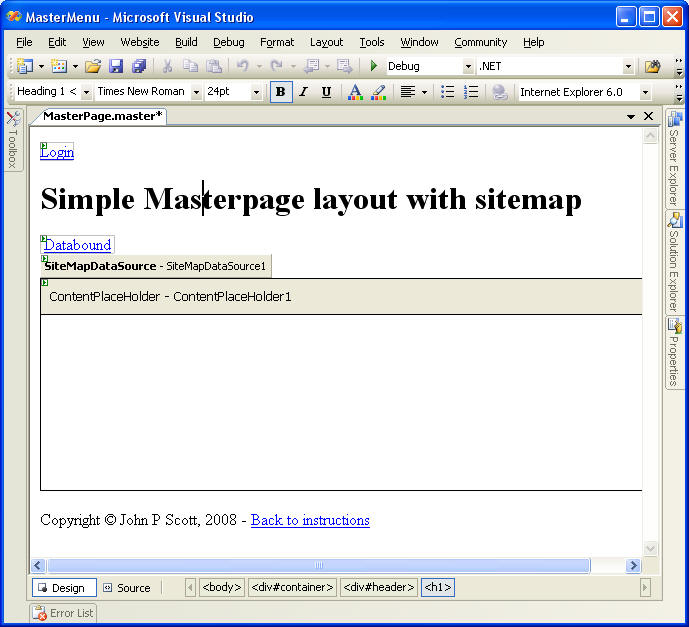
Change properties on the Sitemap control in your masterpage
The only property to change is the sitemap provider. We are going to define
our own information for our sitemap in the web.config file so we need to give it
a name. This can be anything you want, but something like 'mysitemap' makes
sense.
Modifying the web.config file
This is the tricky bit. There is no automatic method for creating this, so
you can cut and paste from here and change the name to match.
Open web.config and under the line which says:
<roleManager enabled="true" />
paste:
    <siteMap defaultProvider="mysitemap" enabled="true">
      <providers>
        <add name="mysitemap"
             type="System.Web.XmlSiteMapProvider, System.Web,
                        Version=2.0.3600.0, Culture=neutral,
                               PublicKeyToken=b03f5f7f11d50a3a"
             securityTrimmingEnabled="true"
             siteMapFile="Web.sitemap"/>
      </providers>
    </siteMap>
Note: the name of your sitemap provider occurs in two places. You need to
change both.
You should now have a working website which does not show the member and
admin links until you login using the login link.